Data Input Forms are an online feedback mechanism that you can use to collect personal and demographic information about your subscribers, and that they can use to indicate their communication preferences.
One of the best ways to share these forms is to link to them in the messages that are sent to your subscribers. Better still -- link to them in a template and the link will be included in all messages that are built on that template.
This article describes how to edit a template in order to add a link to a data input form. The process is similar when creating a template, but with the expected differences.
Create a link in a template
- Navigate to Mailings > Templates > View.
- Hover on a template's menu icon and click HTML.
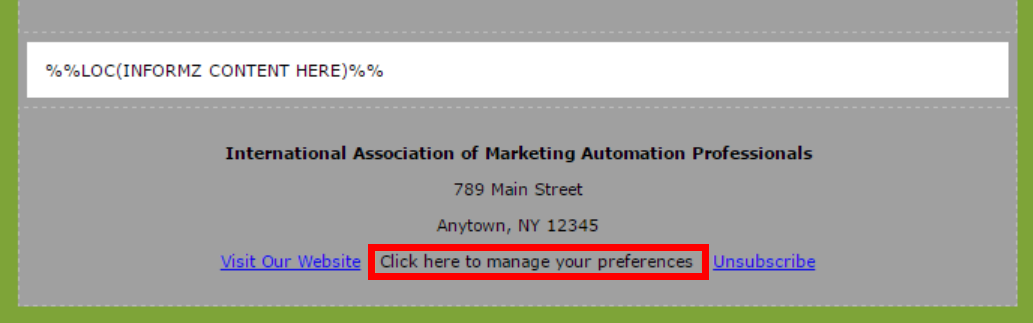
- In the HTML Editor, locate (or input), and then select the text that you want to host the link.
- Click the link icon in the toolbar.
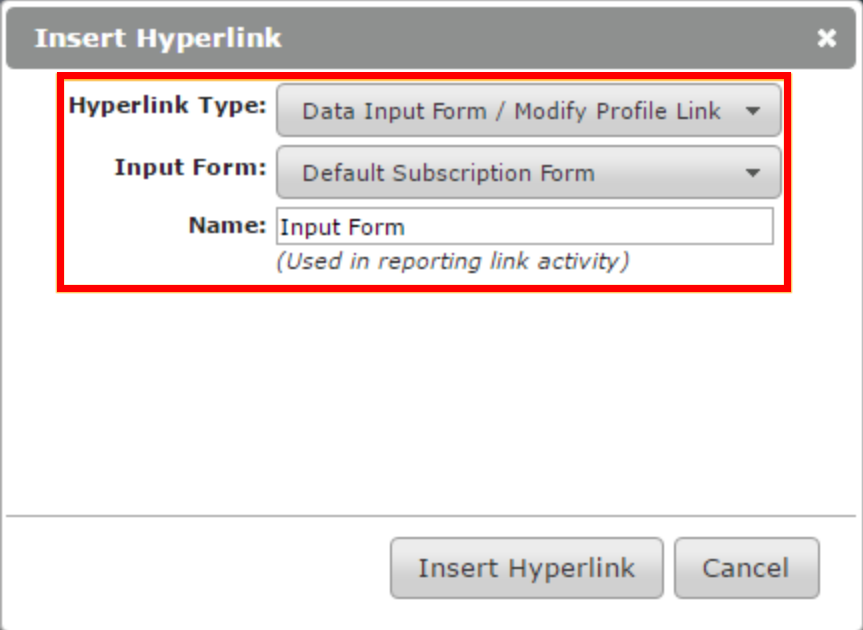
- On the setup dialog:
- Select Data Input Form/Modify Profile Link from the Hyperlink Type dropdown. (Thish expands more options.)
- Select the form you want to link to from the Input Form dropdown.
- Specify a name for the link in the Name field. This link name appears in your reports.
- Click Insert Hyperlink.
The text displays as a link and links to your form.
Preview your changes in the designer and be sure to save your template.