Along with comments, action items are a crucial part of the document-collaboration process. They allow you and your colleagues to create a virtual to-do list directly within Workspace. Action items can then be assigned to specific users, organized by priority, and given a due date to facilitate the document-creation work flow. In addition, automatic email notifications can be sent out when submitting and responding to action items to keep those who need to know in the loop about their progress.
Add an Action Item
NOTE: You must have the proper role and privileges to add an action item.
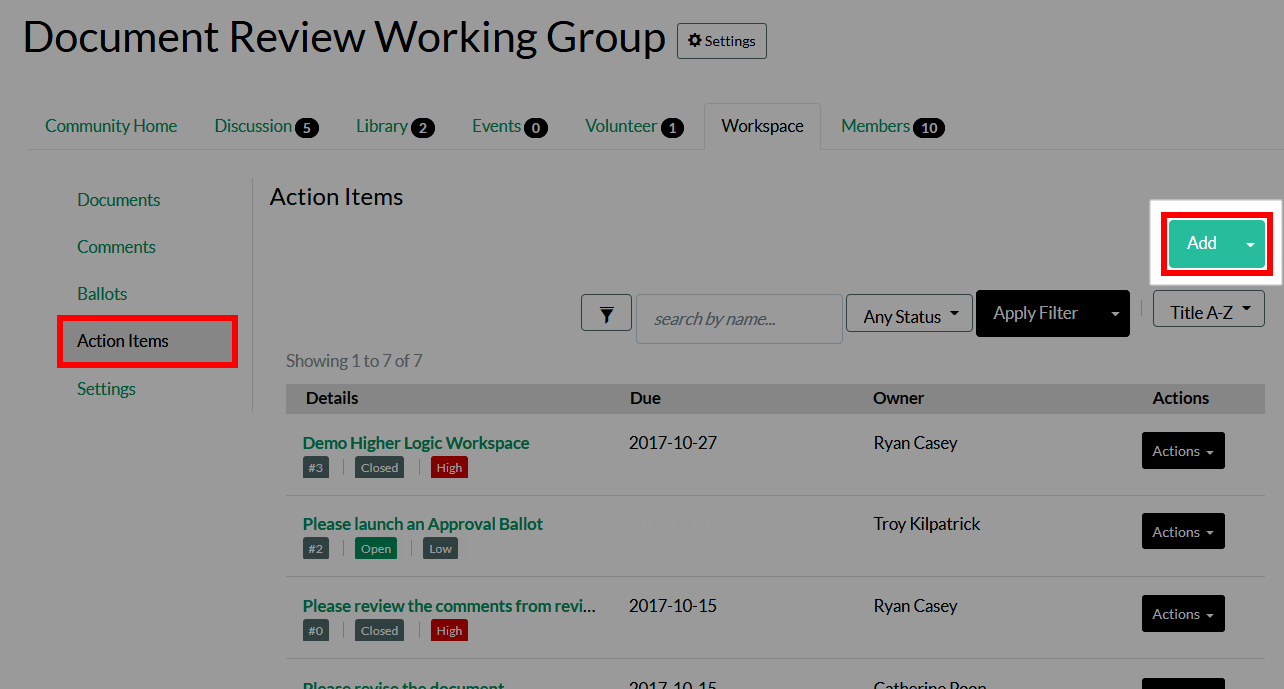
On the Action Items tab:
- Click Add.

- Complete the form to configure your action item.
Options
| Field | Description |
|---|---|
| Subject | Provide a subject or short summary for your Action Item. |
| Description | Expand upon your subject/summary with the full details of your Action Item (maximum of 9000 characters). |
| Comment | If you want to include a comment, add it here (maximum of 9000 characters). |
| Priority | Set a priority of Low, Medium, or High. |
| Due Date | Choose the date by which the Action Item must be completed. |
| Resources | |
| Owner | The "Owner" is the person you want to assign the Action Item to. All members of the group are listed in the menu, so select the individual you want to complete the task.
Owners are displayed on the Action Item's details page, and may receive email updates when Action Items are modified. |
| Related Projects | If needed, you can associate the Action Item to other projects, helping clarify its role or impact in related areas and provide easy linking between projects. |
| Referenced Items
If there are pertinent documents or items you want to associate to this Action Item, add them here. |
|
| Email Notifications | |
| Notify Group or Owner | This is where you configure who receives email notifications about the action item. Check the desired box(es) to send an email notification to the entire group, just the Group Chair(s), and/or just the Owner (assignee). |
| Reminder Notifications for Owner | Here, you can set up to three custom notifications for the Owner, for specific dates/times. This is a great way to ensure the assignee is prompted to complete their task leading up to its due date. |
- Click Save at the bottom of the page when you're finished to assign the action item to the chosen Owner and view a summary of its details.
View Actions Items
On the Action Items tab, all available actions items are shown by default. However, you can apply a number of helpful filters to help you find a specific action item.
To display these filters, simply click the Advanced Filters button.

You'll then be able to filter action items by:
- Searching for them
- Their Status (open or closed), making it easy to see which items have been completed and which are still in-progress
- Their associated Project
- The time frame within which they started (e.g., this month, last six months)
Respond to an Action Item
NOTE: Unless you're an admin or have the proper Workspace privileges, you can only respond to action items that have been assigned to you.
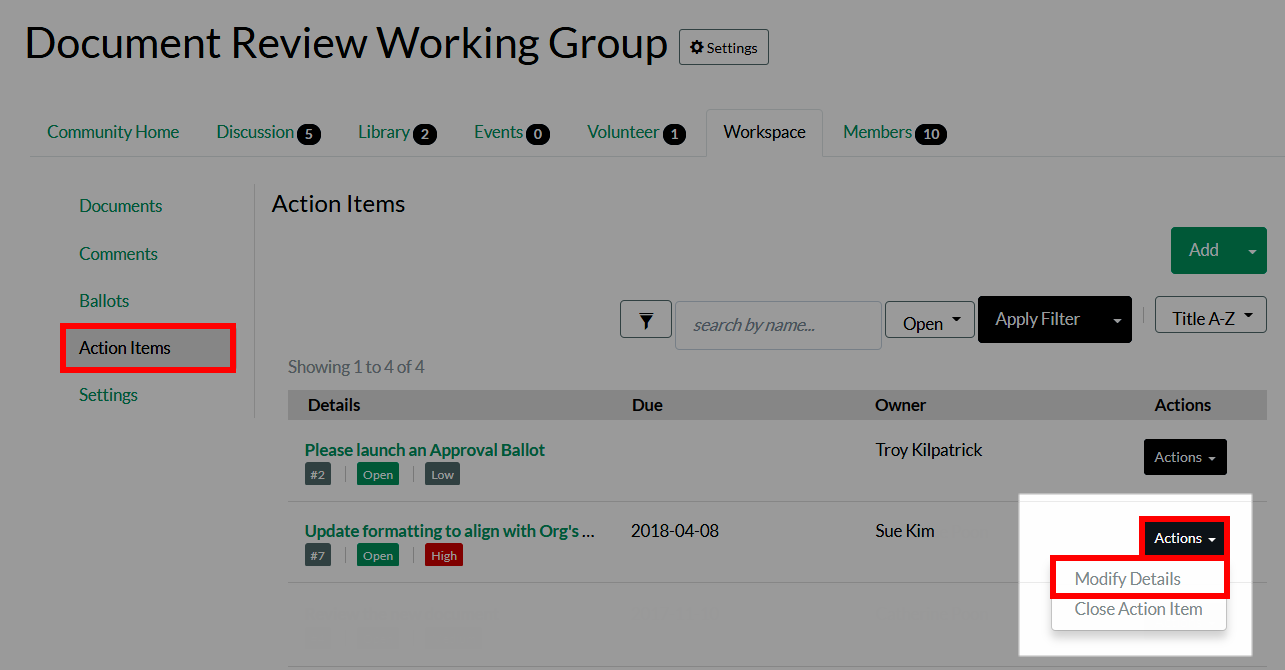
On the Action Items tab:
- Click the Actions menu associated to the action item you want to respond to.
- Select Modify Details.

- Write your response in the Comment field (you're limited to 9000 characters).
- (Optional) If you've completed the task, you may want to set the Status to Closed.
- Select any notifications you want to send to notify the proper people about your response.
- Click Save at the bottom of the page to append your comment to the action item, along with any other updates you made.