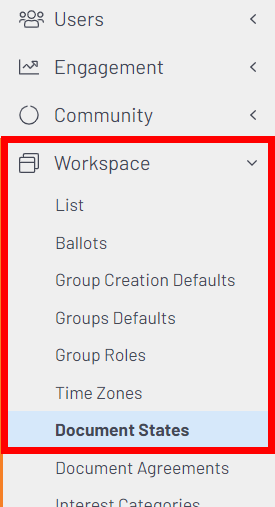
Each uploaded document can be tagged with a "State" to indicate its level of completeness. By default, you'll be able to choose Draft and Final, but you can create additional States to meet your document work flow needs (e.g., In Review, Needs Work, White Paper, Report, Conference Materials).
Access Document States
- In the Admin Toolbar, click Admin.

- Navigate to Workspace > Document States.

Create a Document State
- Click Add New Document State.
- Complete the options below to configure your new State.
| Field | Description |
|---|---|
| Document State Name | Give your new State a name. |
| Document State Description | What you enter here will display next to the State when uploading a document, so provide an adequate description helping users understand the purpose of this State and when they should use it. |
| Active | Controls whether the State is active or not. You'll likely want a new State to be active (selectable), but you can use this option for future State management if you need to prevent one or more States from being used. |
| Default | Controls whether this is the default State applied to all new documents. Users will still be able to select a different State when uploading a document. |
- Click Add New State to add your new State to the list of available States users can apply to documents when uploading them.
Update or Remove a Document State
- Click the Manage link associated to the State you want to update or remove.

- On the resulting page, you can:
- Update any of the State's details or settings.
- Click the Remove button at the bottom of the page to delete it.
NOTE: You can ONLY delete a State if it's NOT in use; if it is, you'll need to first update the document(s) using it.