Need to update your Event Engagement site footer? Read on to learn how.
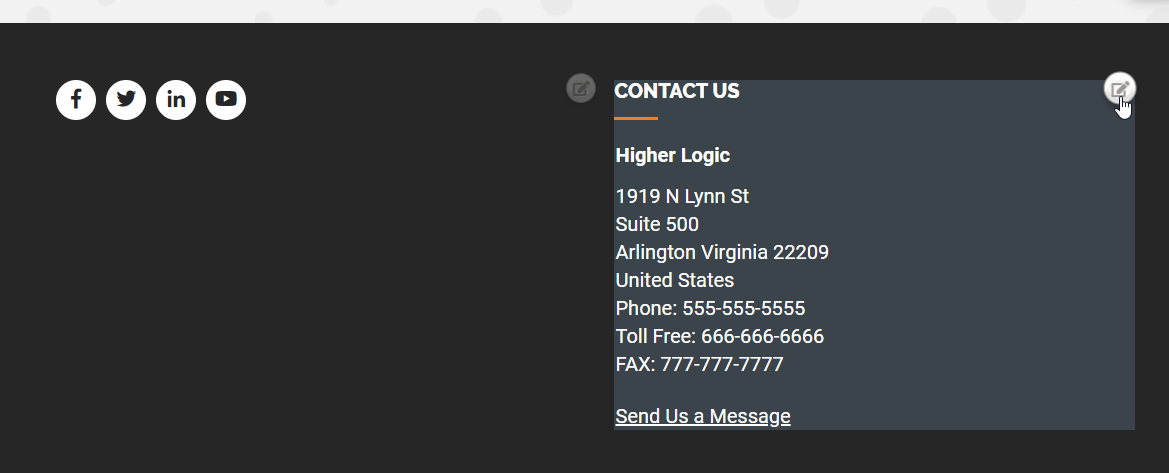
To begin, scroll down to the bottom of your site to view your footer. You'll notice two small, semi-transparent edit buttons, one for your social links and one for your Contact Us information. As shown below, you can hover over a button to highlight its associated content, making it easy to see what each button controls.

Update social links
- Click the edit button associated to your social inks (see image above) to display the WYSIWYG editor.
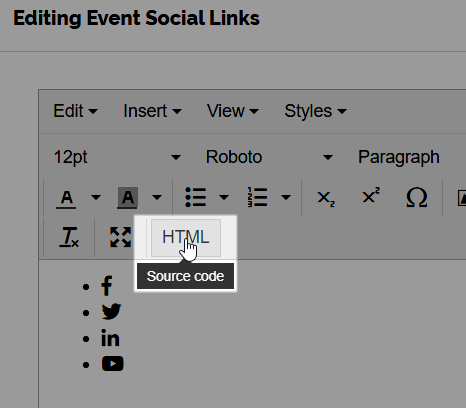
- Click the HTML button in the toolbar to open the source code editor.

- Update your social links, as needed. Enter the link to a social site within its applicable <a> element. We recommend including target="_blank" for each link so it opens in a new tab; this will prevent registrants from navigating away from your Event Engagement site when clicking these links.
EXAMPLE: Our Facebook link looks like this:

- Click Ok to close the source code editor.
- Click Save at the bottom of the dialog.
Update Contact Us information
- Click the edit button associated to your Contact Us information (see image at article top) to display the Site Setup page.
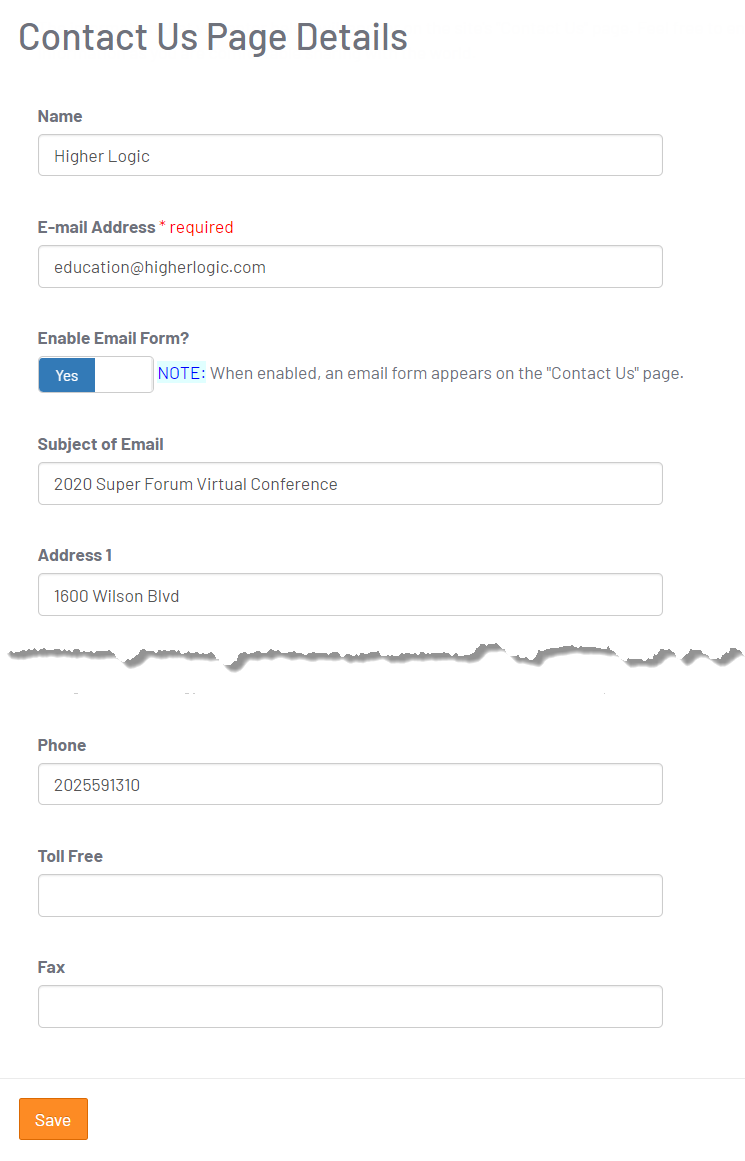
- Scroll down to the Contact Us Page Details area. Here, you can edit the available fields to update the associated information in your site footer.
- When finished, click Save at the bottom of the page to apply your changes.

NOTE: Ignore the Enable Email From toggle. This option does not pertain to your site footer.