Event Calendar is perfect for getting the word out about upcoming events from your organization, and if you're an integrated client, to advertise events from your AMS on your Community Essentials site.
Watch the video
Watch the Higher Logic Academy video that covers how to create events in your community site.

NOTE: Also check out our Community Essentials for Members Learning Path page which has a collection of videos on site design, community management, and other aspects of Community Essentials. The videos are presented in topic-based paths.
Access your event calendar
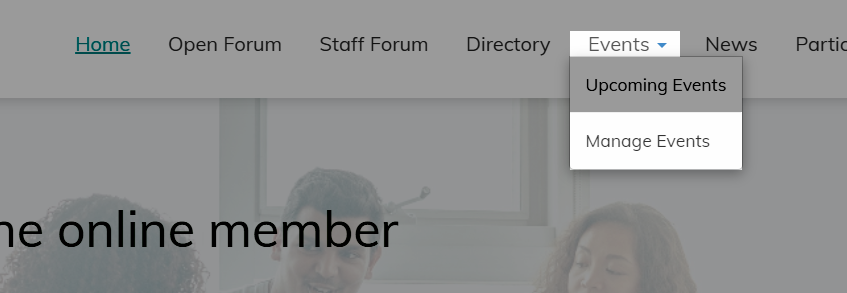
To view and manage your Event Calendar, navigate to Events > Manage Events in your site's navigation bar.
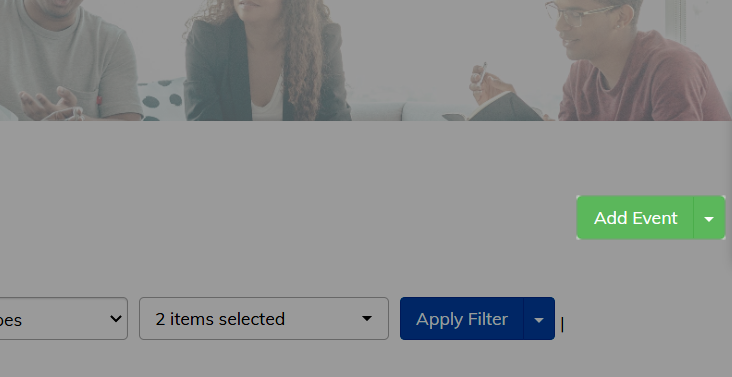
Add an event
- Click Add Event.
- In the resulting dialog, configure the event's settings. Refer to the table below for descriptions of each.
- When you're finished, click Save at the bottom of the dialog to create your event, making it available to users in your various Event Calendar feeds.
| Field | Description |
|---|---|
| Details | |
| Title | Give your event a clear and descriptive title. |
| Event Type | There are four event types available; choose the option best suited for your event. One or more unique configuration options will appear based on your choice, and these are discussed below:
|
| Community | To limit visibility to members of one of your communities, select it here; otherwise, leave it blank to make it publicly available. |
| Description | This is where you can provide detailed information about your event. You can do so either by: 1. Using the Content Editor to insert HTML, embed videos, files, links to other web sites, and more. See Content Editor to learn more about this editor. 2. Using the menus below the editor to provide a URL to a separate web page or web site with information about your event. |
| Optional link | If you have an external website with more information about this event, you can provide its URL here; doing so includes a link to the web page on the event's details page so users can learn more about it. |
| Topics | All content must be tagged with one or more of your organization's Topic tags to ensure it's categorized and easily searchable for your users. |
| Event image | If you want to include a logo for your event, click Choose File and upload one from your computer or network. This logo displays in search results, your Upcoming Events page, and on the event's Details page.
NOTE: The maximum dimensions for this image are 300 x 300px. Images larger than this will automatically be re-sized. |
| Date & Time | |
| Start/End | Click the calendar and clock icons to select your event's start and end time. |
| Timezone | Select the appropriate time zone for your event.
NOTE: This is required for users to be able to use the Download to Calendar feature (see the How to download events to your personal calendar section below for more information). |
| Location | |
| How will people attend this event? | Specify how users will be attending or participating in your event. Options are (you can select more than one):
|
| Country | Indicate where your event is being held, select the country here. |
| Contact Information | |
| Contact Information | If you want to designate a point-of-contact for your event, provide their information in these fields. If you're the point-of-contact, you can simply click the Insert my contact information button to the right to automatically insert this information from your profile. |
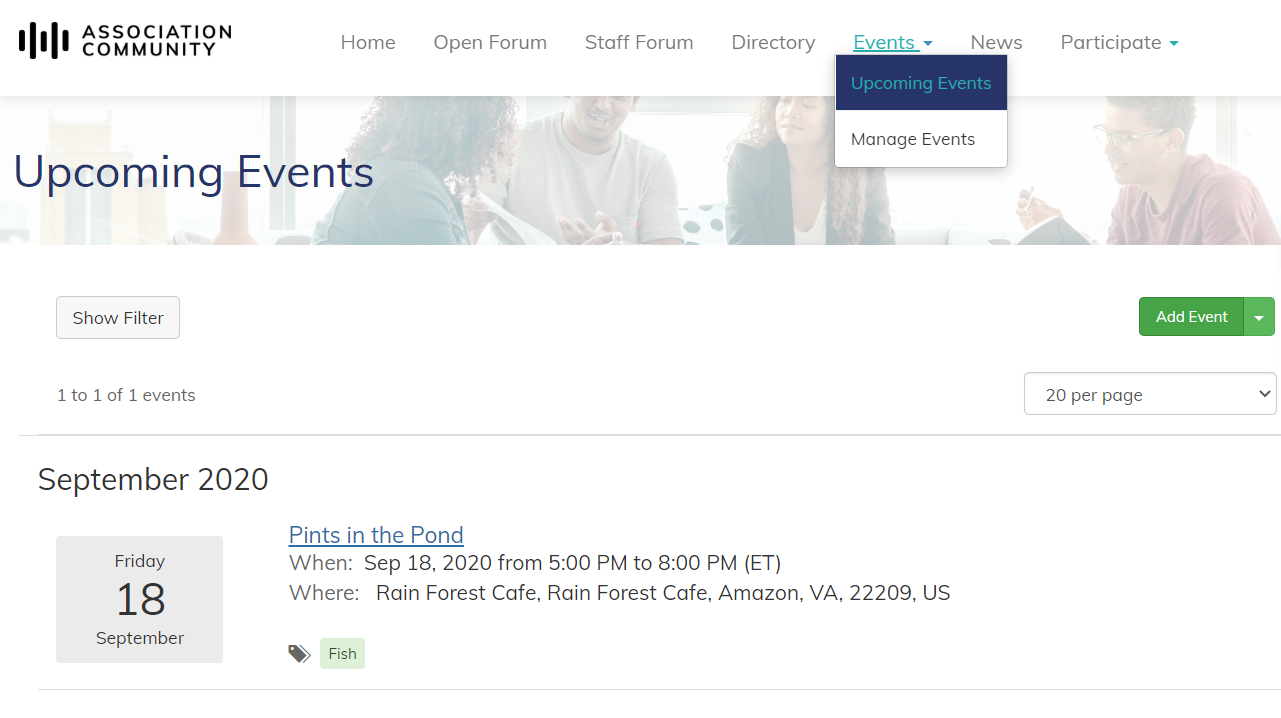
Where are events displayed?
Members can quickly see the full list of upcoming events on the Events > Upcoming Events page, available in your site's main navigation bar.
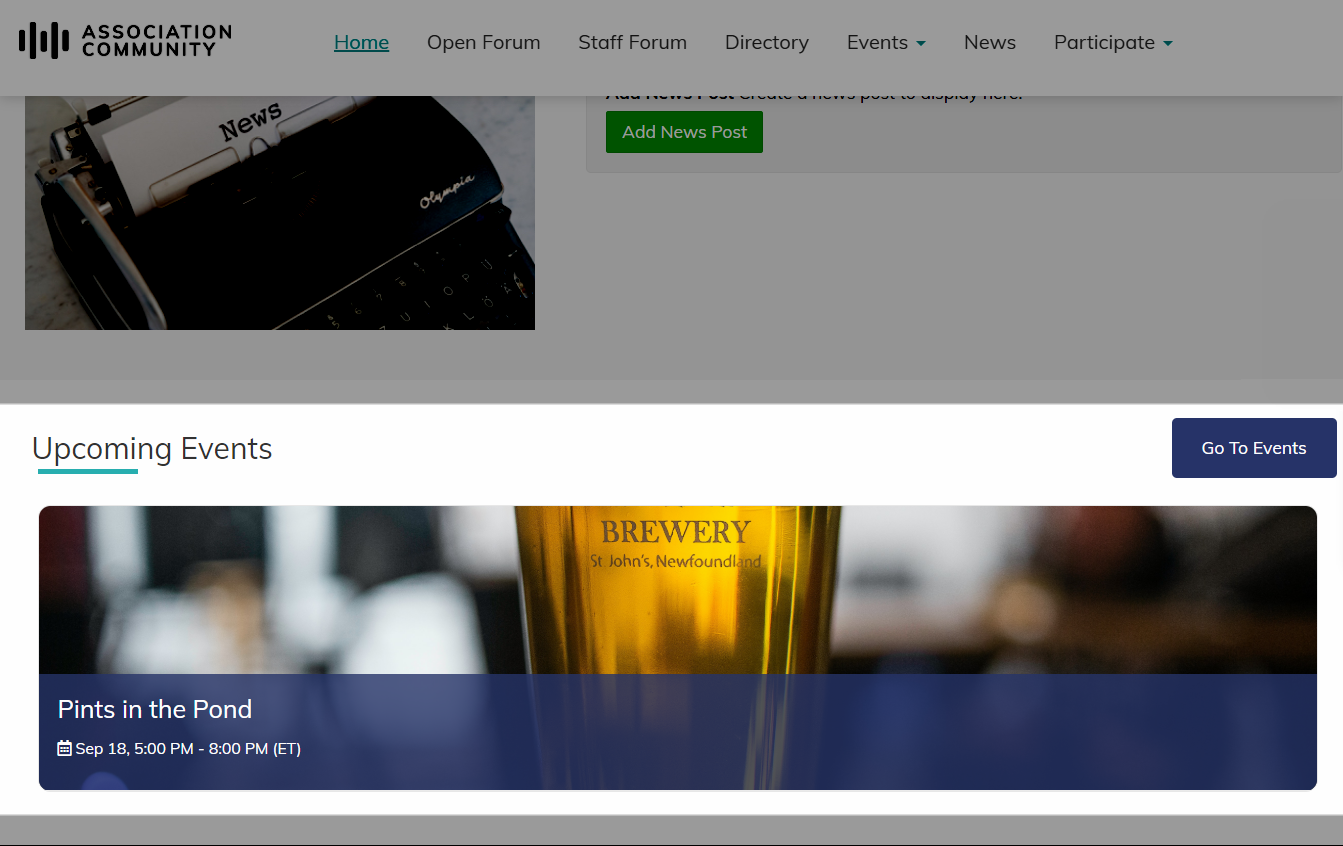
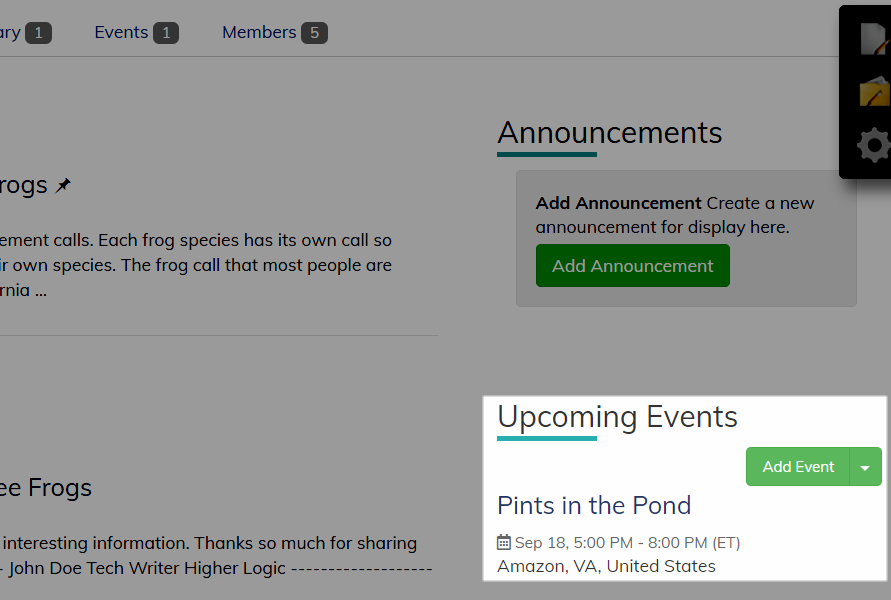
Created events are also shown in the Upcoming Events widget, which is available on your site's main Home page, and in your community Home page.
Site Home page
Community Home page
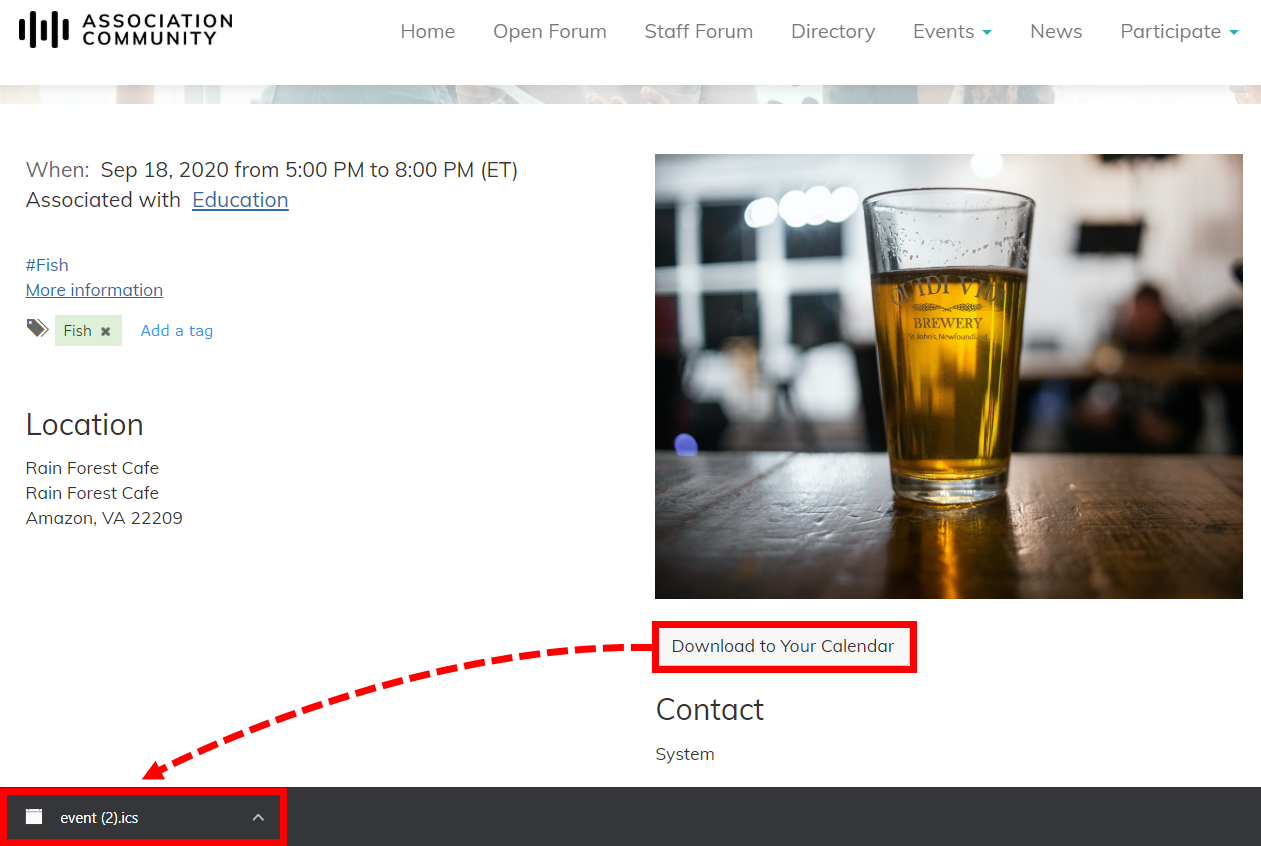
How to download events to your personal calendar
On an event's page (accessed by clicking an event's title on a calendar page or widget), click the Download to Your Calendar button to download an event.ics file in your browser.
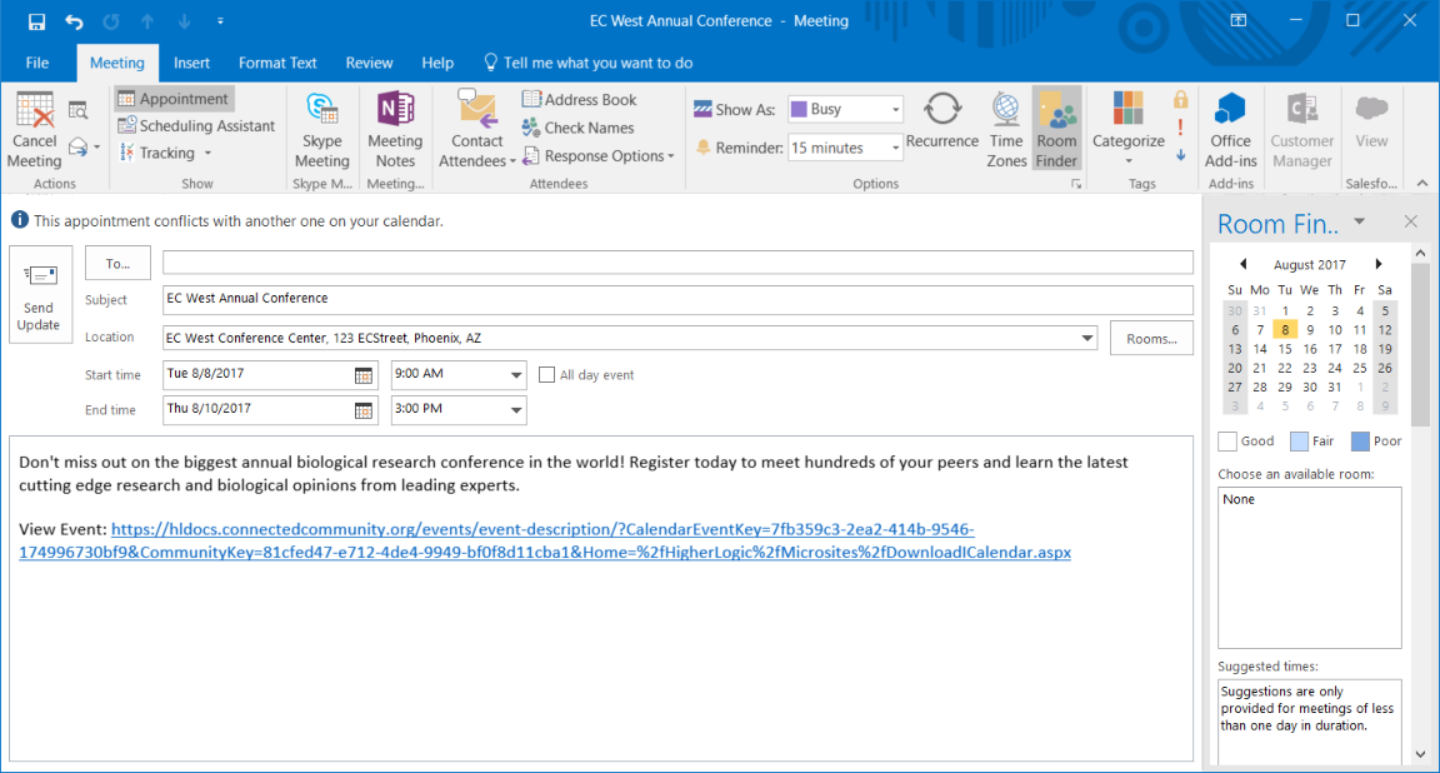
Click this file and select your desired email program (e.g., Outlook) to add an appointment for the event to your personal calendar.
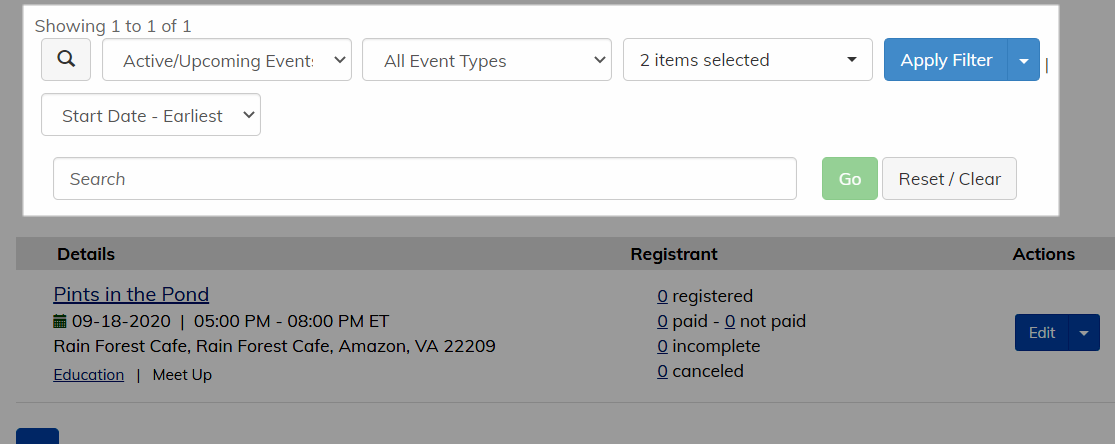
Search and filter events
On the Events > Manage Events page, you can:
- Click the magnifying glass icon to expand a search field, allowing you to find specific events by name.
- Click the filter icon to view various filters you can apply to make it easier to find specific events. After selecting your filter(s), click Apply Filter to see the results.