Do you have a session(s) associated with a specific track that you want to limit to a specific group of registrants? For example, perhaps you have several pre-conference workshops you only want available to registrants who pay for them.
If so, this article will walk you through how to "lock" down a track, and therefore its sessions, to only the specific registrants to which you grant access.
Step 1 - Set the track's Join/View permissions
Because you may want to set these permissions while creating a track or by modifying an existing track, let's look at how to do so in both scenarios.
Create a track
The process to create a track depends on whether you are doing so in your main site or in a microsite. The instructions below will guide you through both processes.
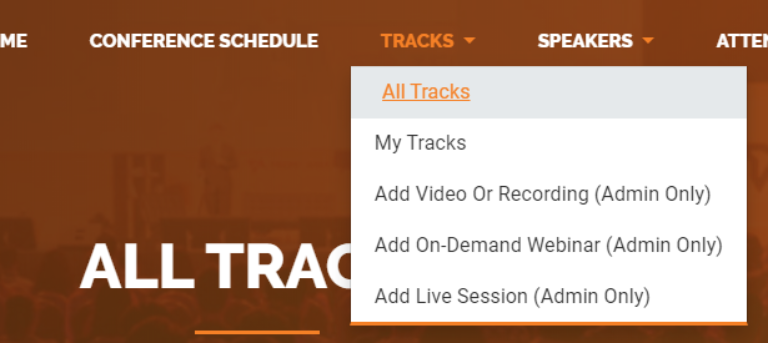
- Navigate to Tracks > All Tracks.

- Use the information below to determine your next step.
- At the top of the page, if you have a button labeled CREATE A NEW TRACK, click it to create your track.
NOTE: You are provisioned with our LITE admin model. In some sites, this button might be labeled CREATE A NEW COMMUNITY.

- If there is a SETTINGS button below the profile icon, click it and then click Add a subcommunity to create your track.
NOTE: You are provisioned with our FULL admin model.

WARNING: If you have the SETTINGS button shown above, do not click CREATE A NEW COMMUNITY (shown below) to create a track.
Modify an existing track
If you're modifying an existing track, simply navigate to it and click Settings > Settings.
Set track settings
Regardless of whether you're creating a track or modifying an existing one, the next steps are identical.
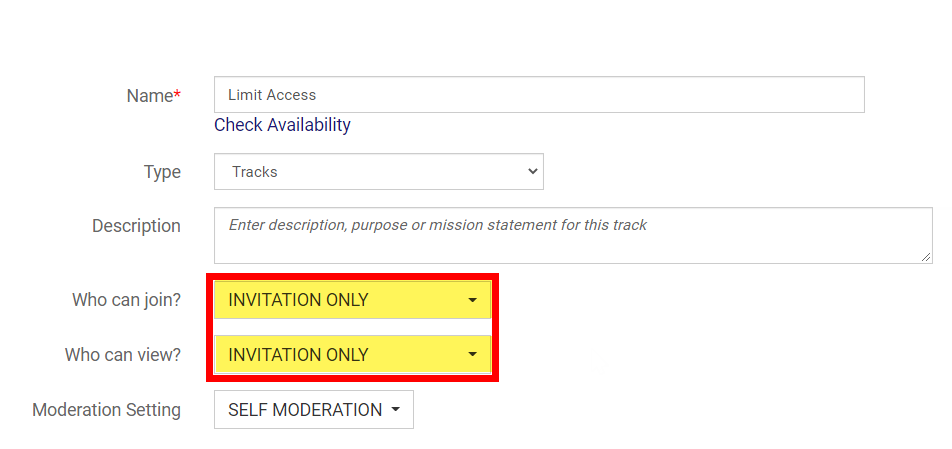
- On the track's settings page, set its Who can join? and Who can view? option to INVITATION ONLY.
- Scroll to the bottom of the page and click Save. This makes it so the only way someone can view or join the track is if you manually add them.

Step 2 - Add sessions to the track
If you need to add sessions to the track, view the articles below to learn how to:
- Add a live session to a track
- Add an embedded recording to a track
- Add an external recording to a track
Step 3 - Add attendees to your track
The only thing left to do is add the attendees to the track you want to have access to its sessions.
NOTE: Before completing this step, you'll need to have already uploaded registrants to your Event Engagement site; otherwise, you won't be able to add them to the track. For help with this, refer to the articles in this section of our knowledge base.
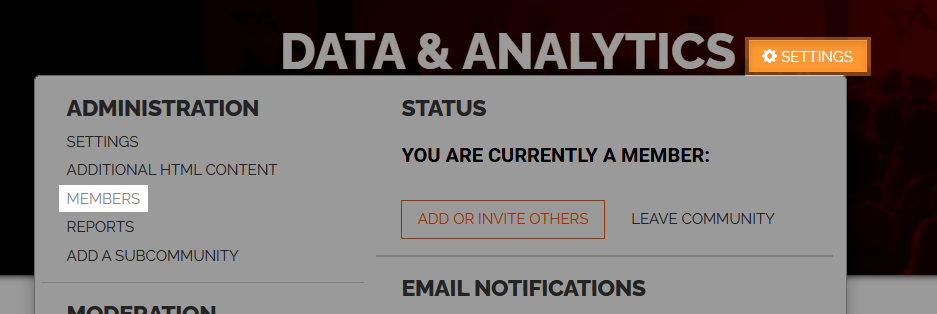
- Navigate to the track's landing page and click Settings > Members.

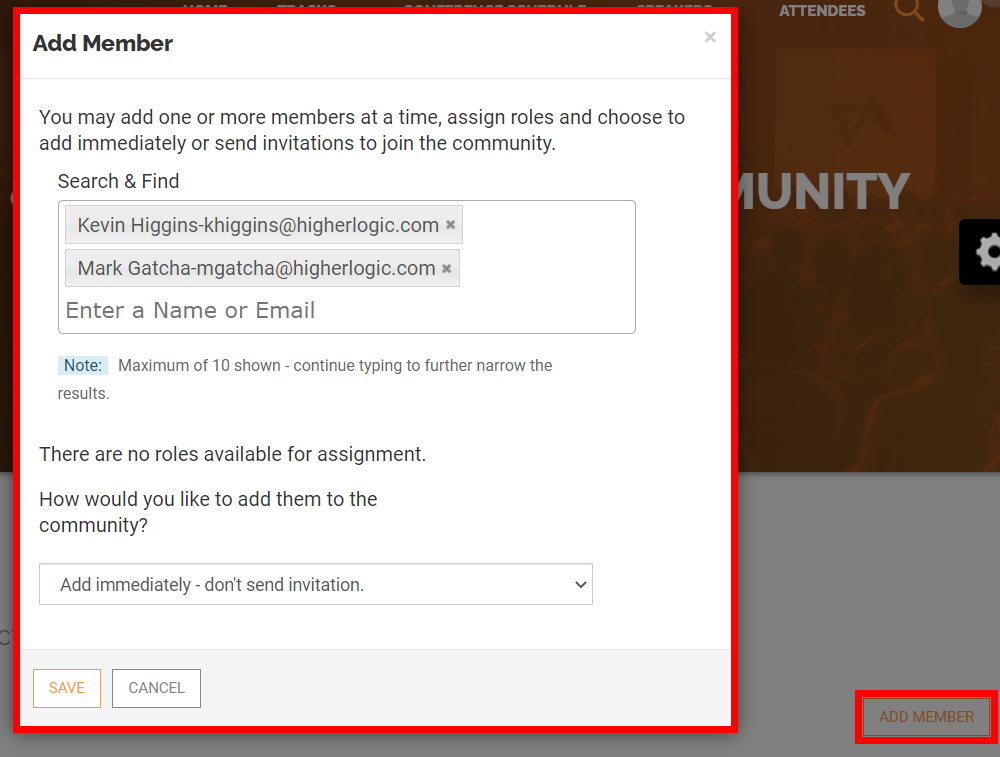
- Click the Add Member button.
- In the pop-up, in the Search & Find area, search for (via name or email) the registrants you want to grant access to the track (you can add multiple people at a time).
- From the bottom menu, select the Add immediately - don't send invitation option.
- Click Save.
