You can use Google Tag Manager (GTM) tags in your Event Engagement site to measure site-use metrics, such as site traffic, bounce rates, and page visits and duration, and then have that data sent to Google via Google Analytics. Those metrics can then be reviewed in order to see trends in the use of your Event Engagement site.
Using Google Tag Manager
In order to use GTM tags in your site, you have to:
- Set up a Google Analytics account (if you haven't got one),
- Log in to Google Tag Manager, and
- Create a new tag.
The steps on how to do this are documented in Set Up Google Analytics. Click to open this article in a new tab.
NOTE: Follow the instructions up to step 23. Then return here and continue with the Before we begin... section to learn how to access the Site Setup page in your Event Engagement site, where you configure Google Analytics.
Steps
- In the Admin Toolbar, click Site Options > Site Setup (right click for a new tab).

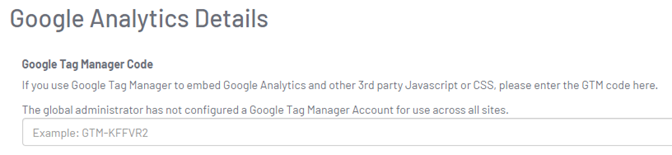
- Scroll down to the Google Analytics Details section of the Site Setup page.
- Paste your GTM code in the Google Tag Manager Code field.
- At the bottom of the page, click Save.